All guides / Content-publishing
Smart Post Expiry
Overview
Smart Post Expiry takes a post or page off your website on a date you choose. It is useful for anything that stops being true, such as an event that has happened, a closing date for applications or a letter about one term.
When the date passes, the post goes back to Draft. Nothing is deleted: the post keeps its content, and you can put it back on the website by publishing it again. It works on posts, pages and your site's other public content types.
Getting set up
Step 1 — Turn on Smart Post Expiry
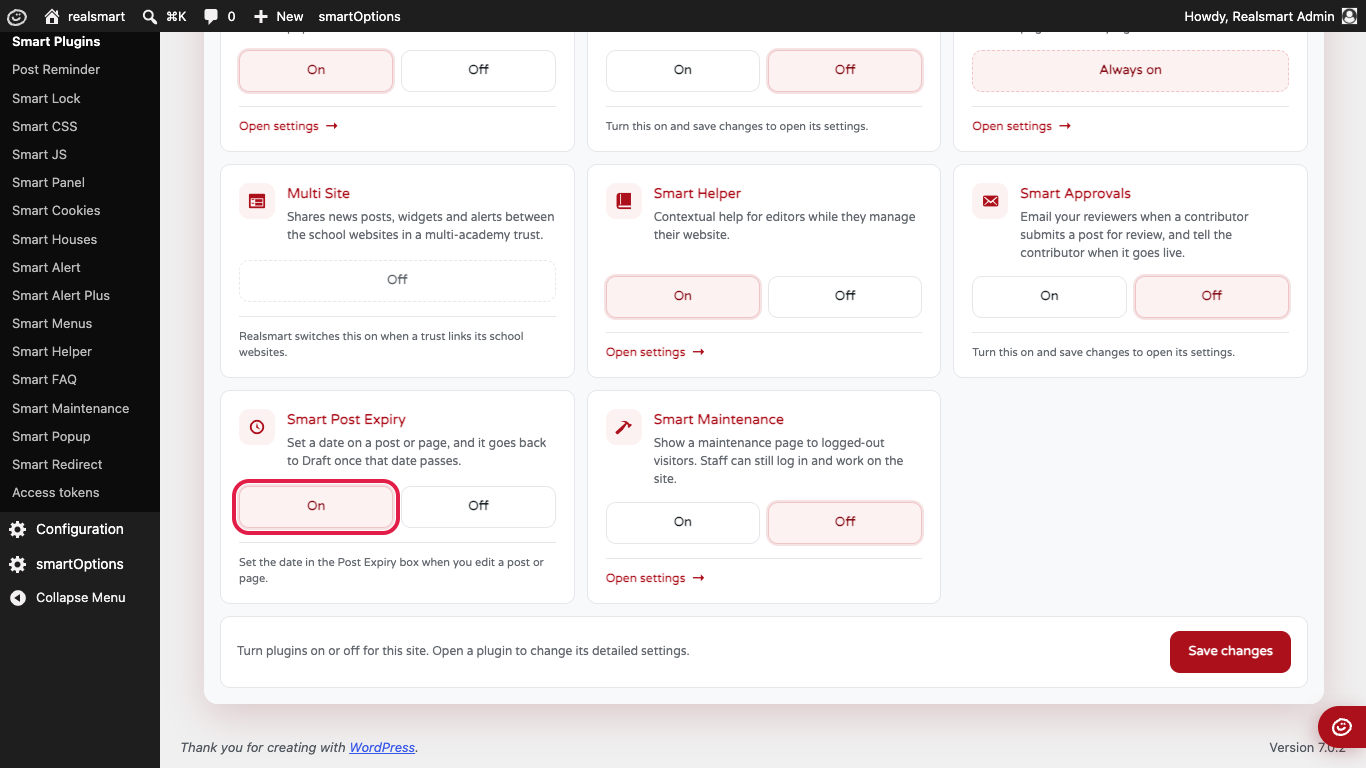
Go to Smart Plugins in the menu on the left. Find the Smart Post Expiry card and click On. It is off until you turn it on.
Step 2 — Save changes
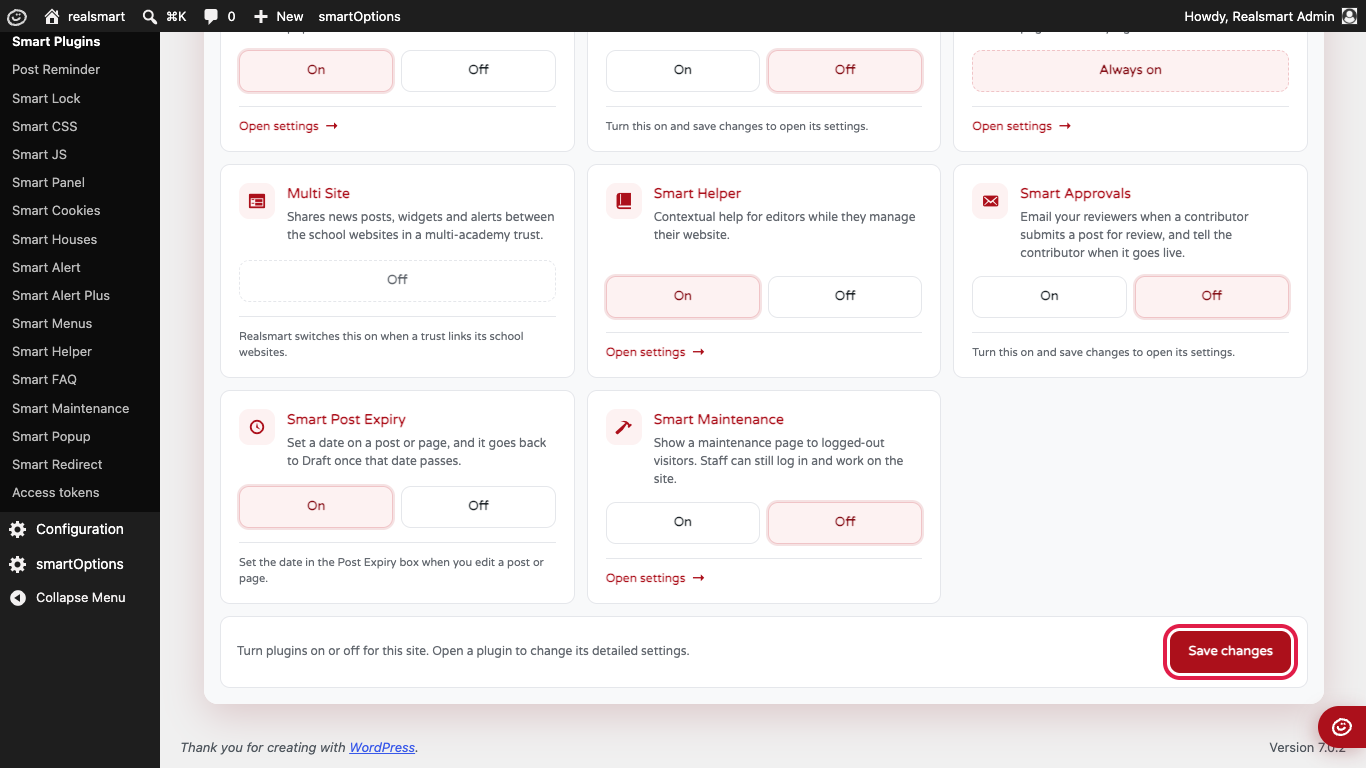
Click the red Save changes button at the bottom right of the page. The card has no settings page of its own: the date is set on each post.
Setting an expiry date
Step 1 — Choose the date and time
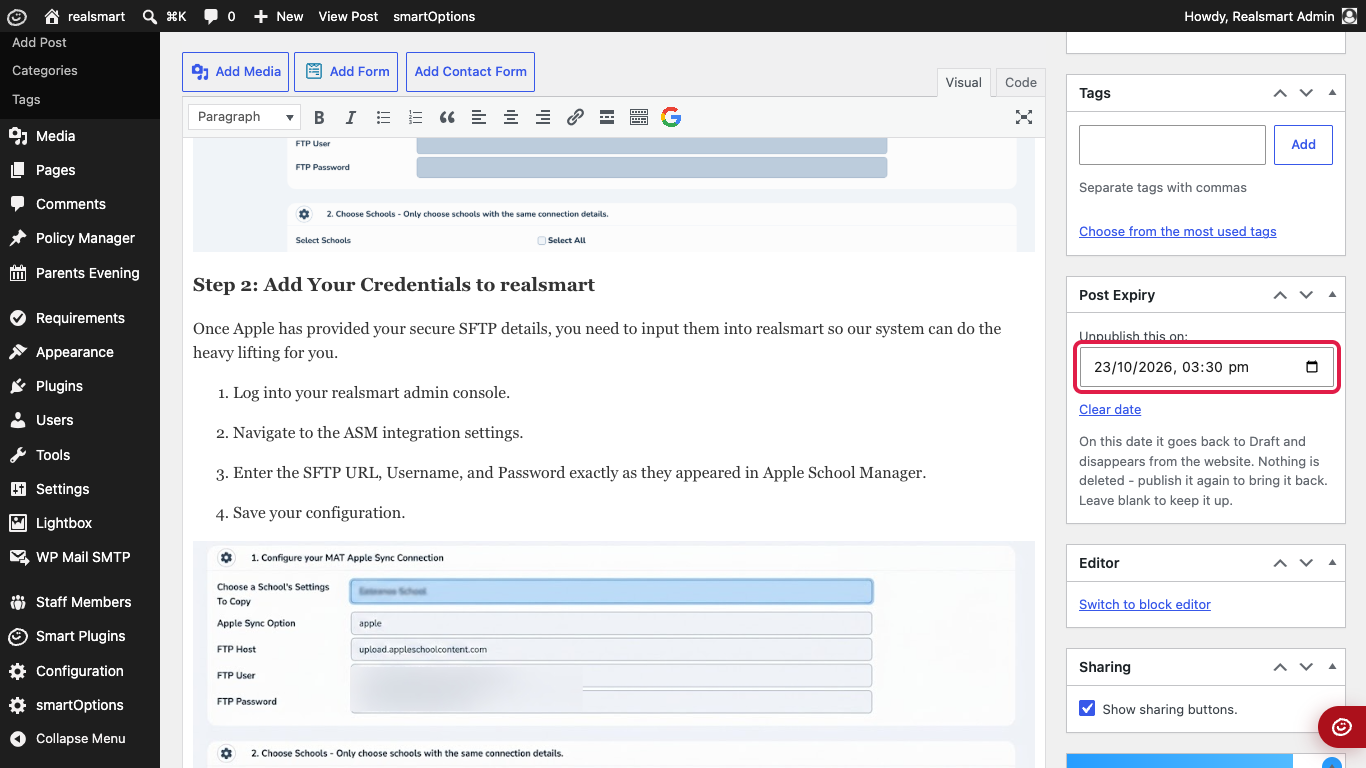
Open the post or page you want to take down later. In the right-hand column, below Tags, there is a box called Post Expiry. Under Unpublish this on:, choose the date and time you want it to come off the website.
The time is in your website's time zone (UK time, unless someone has changed it in Settings → General), the same as the time you see when you schedule a post.
Step 2 — Click Update
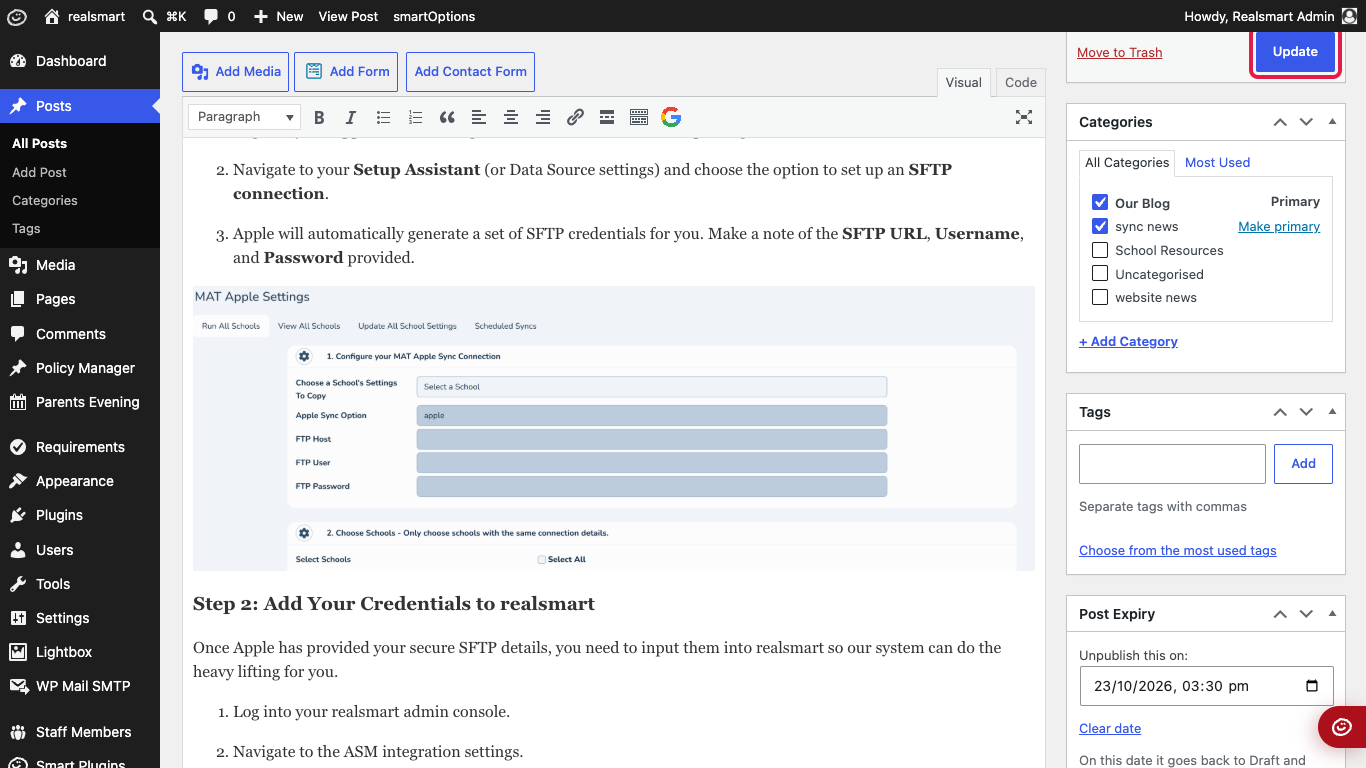
Scroll back up and click the blue Update button at the top of the right-hand column (on a post you have not published yet, click Publish). The date is not saved until you do.
The post stays on your website until the date you chose. Within about five minutes of that time, it goes back to Draft and disappears from your website: visitors can no longer open it, and it drops out of your news lists. If it is a page in one of your menus, take it out of the menu too (Appearance → Menus).
To change the date, choose a new one and click Update again.
Cancelling an expiry date
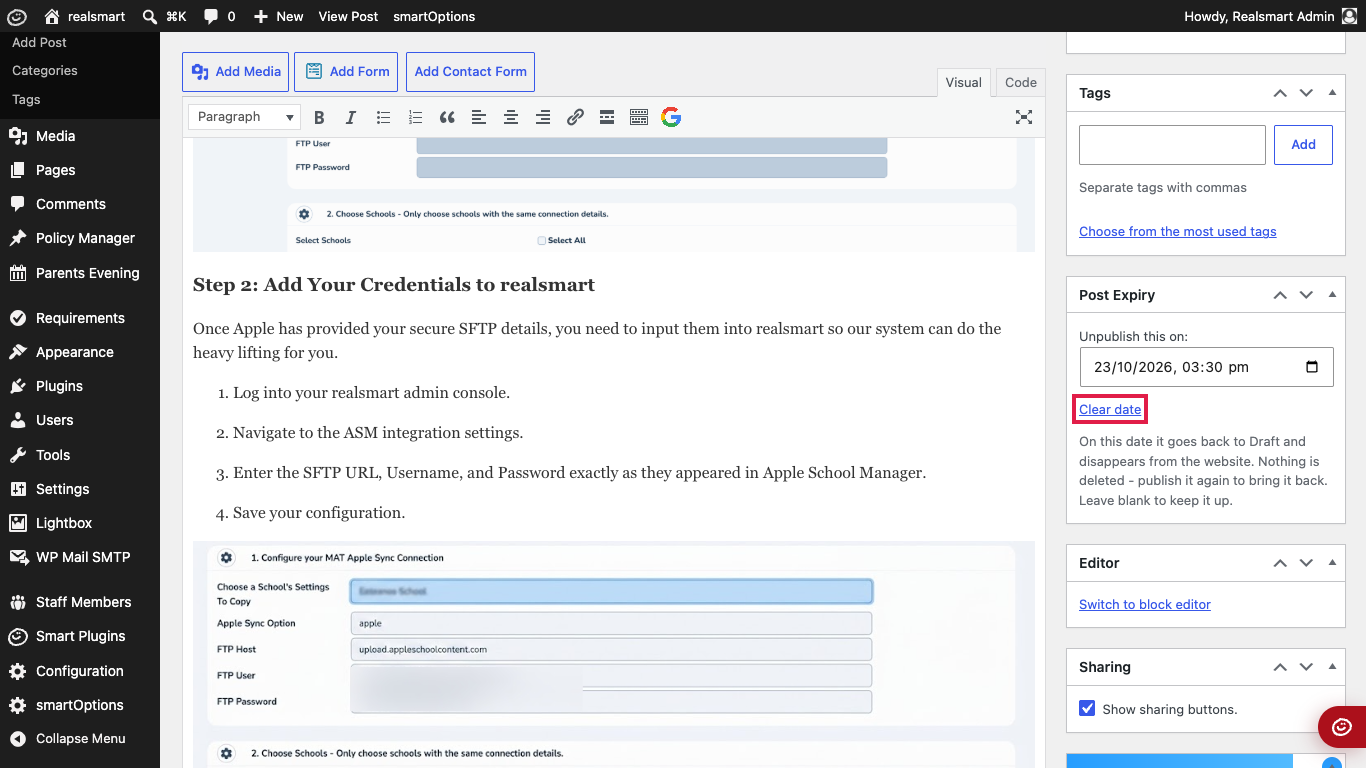
Open the post, click Clear date in the Post Expiry box so the date is empty, then click Update. The post will then stay on your website.
After a post has expired
Finding out what happened
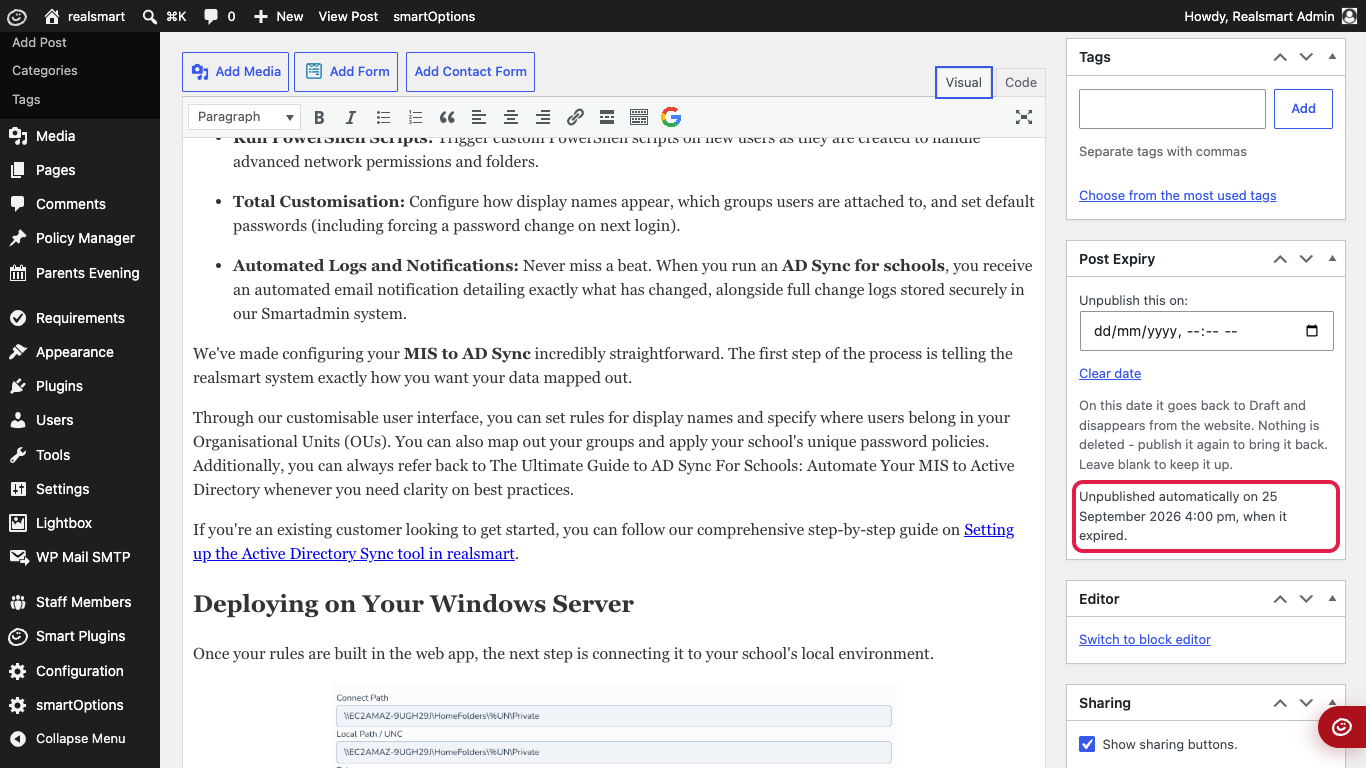
An expired post shows as a Draft in your list of posts. When you open it, the Post Expiry box says when it was taken down, so anyone who finds it later knows it was not deleted by mistake.
Putting it back on the website
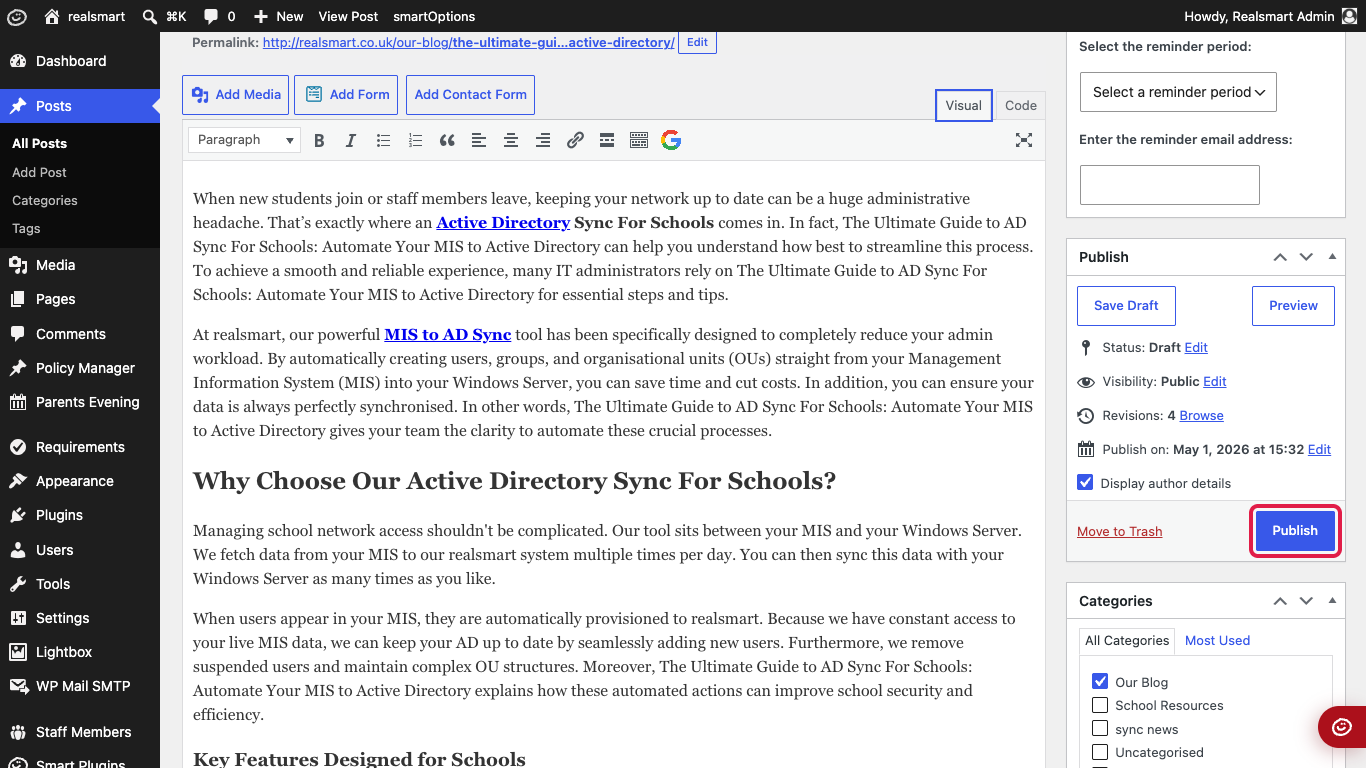
Click the blue Publish button in the Publish box at the top of the right-hand column. The expiry date was cleared when the post came down, so it will not be taken down again unless you set a new date.
If something looks different
- You cannot see the Post Expiry box. Check that Smart Post Expiry is On in Smart Plugins, and that you clicked Save changes. If it is on, the box may be collapsed or moved: look for its heading lower down the right-hand column, and click it to open it.
- You use the block editor. The box is in the settings panel on the right, on the Post tab, near the bottom, below Post Reminder. Set the date there, then click Save or Update at the top of the screen.
- The box says "This date has passed." You have saved a date that is already in the past. The post comes down within the next few minutes. To keep it up, click Clear date and Update.
- A post you scheduled for the future has an expiry date. It goes up on its publish date as normal, and comes down on its expiry date.
- You turned Smart Post Expiry off. The box disappears and nothing is taken down while it is off. The dates you set are kept. If you turn it back on, any post whose date passed in the meantime comes down within a few minutes.
Was this guide helpful?
We read every response — it decides what we rewrite next.
Thanks for your feedback.